
Table of Contents
ToggleA smart thermostat isn’t just a gadget, it’s a practical upgrade that puts heating and cooling control directly in your hands, whether you’re at home or across town. Unlike traditional thermostats, smart models learn your patterns, adjust automatically, and let you fine-tune comfort from your phone. For homeowners looking to reduce energy bills and simplify temperature management, understanding how to set up and use a smart thermostat is straightforward once you know the basics. This guide walks you through installation, navigation, scheduling, and remote access so you can start optimizing your home’s climate immediately.
Key Takeaways
- A smart thermostat learns your patterns and adjusts automatically via Wi-Fi, helping homeowners save 10–23 percent on energy bills compared to traditional programmable models.
- Proper installation requires verifying HVAC compatibility, labeling wires carefully, and mounting on a central interior wall away from drafts and heat sources for accurate temperature readings.
- Set up weekly schedules with distinct time blocks for different comfort levels (e.g., 68°F mornings, 70°F evenings, 62°F overnight) to maximize energy savings without sacrificing comfort.
- Enable geofencing in your smart thermostat’s mobile app to pre-heat or pre-cool your home before you arrive, and use the Hold function to temporarily override schedules when needed.
- A stable Wi-Fi connection is essential for remote access and notifications; if your thermostat frequently disconnects, reposition your router or add a Wi-Fi extender.
- Start with basic scheduling and local control, then layer in advanced features like voice assistant integration and smart home automation only after mastering the fundamentals.
Understanding Your Smart Thermostat Basics
What Makes A Thermostat Smart
A smart thermostat is essentially a connected device that monitors, learns, and controls your home’s heating and cooling system via Wi-Fi. Unlike a programmable thermostat that requires manual schedule entry and adjustment, a smart model uses sensors and algorithms to adapt automatically. Many smart thermostats detect when occupants leave or return, sense ambient light and humidity, and integrate with other smart home devices.
Central to the technology is a combination of local temperature sensors inside the unit and sometimes additional sensors in other rooms. The thermostat communicates with your heating and cooling equipment, furnace, air conditioner, or heat pump, to call for heating or cooling as needed. Information syncs to cloud servers, enabling remote access from mobile apps and voice assistants.
Key Features And Benefits
Smart thermostats typically include features like adaptive learning, which observes your manual temperature changes and creates automatic schedules based on patterns. Geofencing uses your phone’s location to detect when you’re heading home and pre-cools or pre-heats accordingly. Remote access lets you adjust temperature from anywhere with internet. Energy reports show exactly how much you’re using and suggest optimizations.
Many models integrate with voice assistants (Amazon Alexa, Google Home) and work alongside other smart home devices. The ability to create multiple schedules, set temperature ranges, and receive notifications when filters need replacing adds convenience. Most importantly, homeowners report monthly energy savings of 10–23 percent by using smart thermostat scheduling and remote control features effectively. While installation complexity varies by HVAC system and existing thermostat wiring, most homeowners find setup manageable with basic attention to detail.
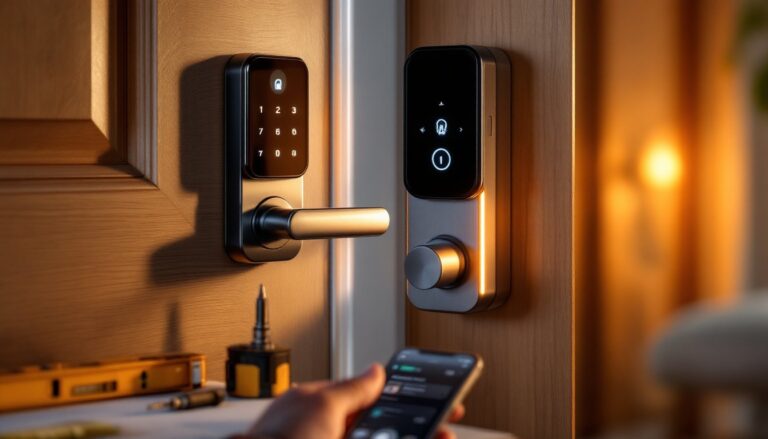
Installation And Initial Setup
Before installing a smart thermostat, verify that your HVAC system is compatible. Most smart thermostats work with standard furnaces, air conditioners, and heat pumps, but some incompatibilities exist, particularly with older systems or systems using unusual wiring. Check your current thermostat’s wiring diagram or take a photo of the wire terminals for reference.
Safety first: Turn off power to your HVAC system at the breaker before disconnecting your old thermostat. This prevents electrical shock and accidental system damage. Some systems have a secondary shutoff near the furnace itself: flip that as well.
Disconnect the old thermostat and label each wire with tape or a marker (common terminals include R for 24V power, W for heat, Y for cooling, G for fan, and C for common ground). Follow your smart thermostat’s wiring diagram to connect wires to the appropriate terminals on the new unit. If your system lacks a C-wire (common ground), some smart thermostats have a built-in adapter or require a licensed electrician to run one, this is a legitimate limitation to check before purchasing.
Once wired, mount the thermostat on a central interior wall away from direct sunlight, drafts, and heat sources like kitchens or exterior walls. Avoid mounting near windows or doors where temperature swings skew readings. Restore power to your HVAC system and follow the on-screen setup prompts to connect to your Wi-Fi network. Enter your zip code, HVAC system type, and create a login for the manufacturer’s app. Setup typically takes 15–20 minutes. If you’re uncertain about wiring or lack a C-wire, calling a licensed HVAC technician is reasonable insurance against mistakes that could damage equipment or leave you without heating or cooling.
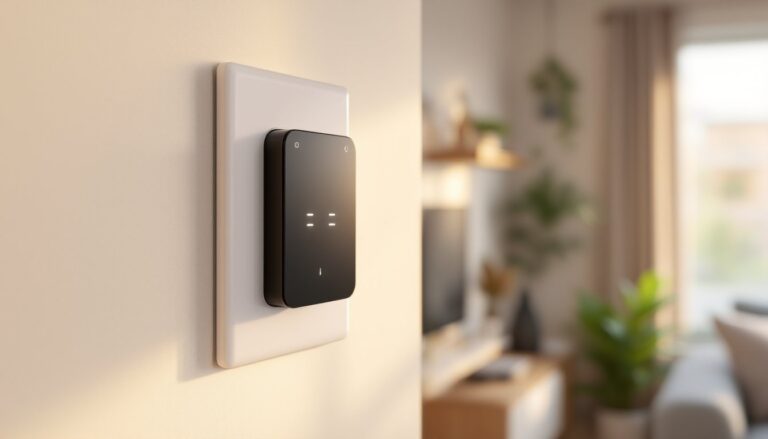
Navigating Your Thermostat Display And Controls
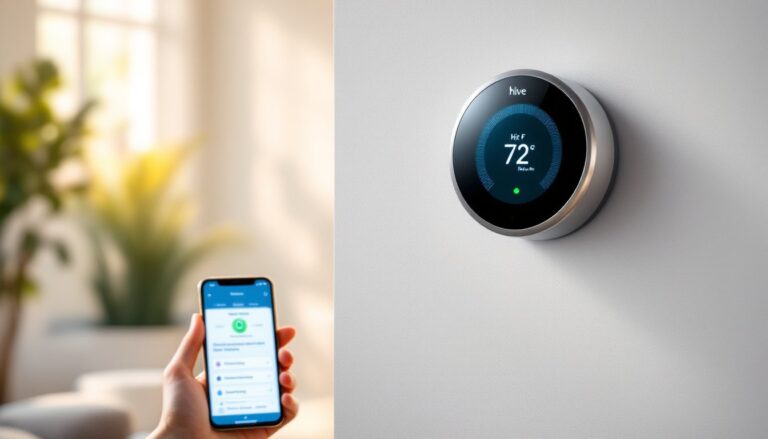
Once powered on, the thermostat’s display shows the current temperature, set point (target temperature), mode (Heat, Cool, Auto, or Off), and fan setting (Auto or On). Most smart thermostats use a touchscreen or scroll wheel for navigation: some combine both. The home screen is your starting point for quick adjustments.
Raising or lowering the set point is simple: rotate the scroll wheel or tap up and down arrows. The unit confirms your selection with a beep or visual feedback. The mode selector determines whether the system heats, cools, or operates in Auto mode, Auto automatically switches between heating and cooling based on the set point and current temperature. Fan control typically offers Auto (runs only during heating or cooling cycles) or On (runs continuously). Continuous fan use distributes air and filters more uniformly but increases energy consumption slightly.
Most smart thermostats have a menu system accessed via a Settings button. Here you’ll find options for adjusting screen brightness, modifying schedules, checking system status, and viewing filter life remaining. Some models display humidity, barometric pressure, and air quality alongside temperature. The filter life indicator counts down based on runtime, alerting you when a furnace filter change is due, usually every 90 days, though high-efficiency filters or homes with pets may require more frequent changes.
Pay attention to status indicators on the display. A flame icon signals the heating system is active: a snowflake shows cooling is running. If the system calls for heat or cool but nothing happens, check that your system is set to Heat or Cool mode (not Off), and verify power is on at the breaker. Familiarizing yourself with these basic controls takes just a few minutes of exploration.
Programming Schedules And Temperature Settings
Smart thermostats shine when schedules are set up correctly. Most models allow you to create weekly schedules with different temperature set points for Weekday Morning, Weekday Afternoon, Weekday Evening, Weekend, and other custom periods. The goal is to heat or cool when you’re home and comfortable, then shift to lower heating or higher cooling setbacks when you’re away or sleeping.
Access the Schedule menu on the display or in the mobile app. Set distinct time blocks, for example, Heating at 68°F from 6–8 AM, 70°F from 5–11 PM, and 62°F overnight and during work hours. In summer cooling mode, you might set 78°F while away and 72°F while home. Each time block can have its own temperature: overlapping or conflicting times default to the most recent entry, so double-check your intervals to avoid gaps.
Many smart thermostats offer Hold functions, which override the schedule temporarily without erasing it. Pressing Hold on the display lets you manually set a temperature and duration, useful when you’re sick, hosting guests, or the weather shifts unexpectedly. After the hold duration expires, the schedule resumes automatically.
If your thermostat supports geofencing, enable it in the mobile app. The system tracks your phone’s location and pre-heats or pre-cools your home before you arrive. Set a comfort radius (usually 1–5 miles) so the system doesn’t trigger every short trip away. Adaptive learning, if enabled, watches your manual adjustments and gradually refines the schedule. After a few weeks, many smart thermostats have learned enough to suggest optimized schedules or even auto-adjust when they detect changes in your routine.
Start with simple, modest schedules. A 2–3°F setback in winter and setup in summer typically saves 1–2 percent per degree per day without causing discomfort. More aggressive setbacks (5°F or more) save more energy but risk discomfort or system strain if weather changes suddenly.
Using Mobile Apps And Remote Access
The mobile app is where smart thermostats earn their name. Download the manufacturer’s app (Nest, Ecobee, Honeywell, or whatever model you own) and log in with your credentials. The app mirrors most thermostat display functions and adds remote control capabilities.
From the app, you can adjust temperature, change mode, and view real-time system status from anywhere with internet. Notifications alert you when the system calls for heat or cool, when filters need replacement, or if the system detects unusual activity (like the door being left open during heating). Some apps display historical energy use, comparing your consumption to similar homes in your climate zone, useful motivation for tweaking schedules.
Voice assistant integration lets you say “Alexa, set the thermostat to 70 degrees” or “Hey Google, cool my house to 75” without touching the app or display. This convenience is especially handy for quick adjustments without hunting for your phone. Most voice commands work for temperature changes, mode switching, and querying current conditions.
For homeowners integrating multiple smart devices, some thermostats connect to whole-home automation hubs or platforms. A smart thermostat might trigger lights to turn on when you arrive home or shut down outdoor air-handling units when windows are open. These integrations expand functionality but add complexity, start simple and add integrations only if they solve a real problem.
One note: ensure your Wi-Fi network is stable and covers the thermostat location. If the thermostat frequently loses connection, it reverts to local control (display and manual buttons only) until reconnecting. A weak Wi-Fi signal is one of the most common setup frustrations: reposition your router or add a Wi-Fi extender if disconnects persist. Remote access demands a solid internet connection: without it, the thermostat still controls your heating and cooling locally, but app features won’t work.
Wrapping Up: Keep It Simple, Then Optimize
Installing and mastering a smart thermostat is a straightforward project for most homeowners. Start by setting up basic schedules tied to your routine, morning wake-up, work departure, evening return, and bedtime. Use the mobile app to confirm everything’s working, then spend a few weeks observing your comfort and energy use.
Once you’re comfortable with the basics, layer in geofencing, voice control, or integrations with other smart home devices. Many homeowners find the biggest savings come from disciplined scheduling rather than flashy features. Track your energy reports monthly and adjust set points slightly until you hit the balance between comfort and efficiency that works for your household. Your smart thermostat will learn and adapt, but your input drives results.