
Table of Contents
ToggleElectric baseboard heating is common in homes across North America, especially in regions with mild winters or in rental properties where central HVAC isn’t installed. If you’re heating with baseboard units, you know they’re straightforward but often inefficient, they run on a schedule that doesn’t match your actual comfort needs. A smart thermostat changes that equation. Unlike standard wall-mounted thermostats, smart thermostats for electric baseboard heat let you control temperature remotely, set schedules based on occupancy, and track energy use in real time. This guide walks you through selecting, installing, and optimizing a smart thermostat for baseboard systems, plus the pitfalls to avoid.
Key Takeaways
- Smart thermostats for electric baseboard heating must be rated for line-voltage operation (120V or 240V), not low-voltage systems designed for furnaces or heat pumps.
- Popular models like the Honeywell Home T9 and Ecobee SmartThermostat offer remote sensors and geofencing, enabling 10–15% energy savings through automated scheduling when homes are unoccupied.
- Proper installation requires turning off power at the breaker, verifying the circuit with a multimeter, and correctly wiring the ‘hot’ and ‘load’ terminals to avoid dangerous electrical faults.
- Setting your electric baseboard smart thermostat to 65°F during work hours and 68–70°F in the evening, combined with a 3–4°F dead band, prevents short-cycling and maximizes efficiency.
- If a smart thermostat for baseboard heat fails to improve energy use, the problem may be poor insulation or air leaks rather than control settings—prioritize weatherproofing first.
- Hire a licensed electrician if you’re uncomfortable with line-voltage wiring, as the $150–300 cost is justified for safety and code compliance.
Understanding Electric Baseboard Heating and Smart Thermostat Compatibility
What Makes Smart Thermostats Work With Baseboard Systems
Electric baseboard heaters are resistance heaters, they convert electrical current directly into heat with no combustion or blower. Most units plug into a wall outlet or hardwire to a dedicated circuit, and they’re controlled by a simple line-voltage thermostat that switches the heater on and off.
Here’s the crucial detail: not all smart thermostats work with baseboard heat. Many are designed for furnaces or heat pumps, which use low-voltage control circuits (typically 24V). Baseboard heaters operate on line voltage (120V or 240V, depending on the unit), so your smart thermostat must be rated for that voltage and wired accordingly.
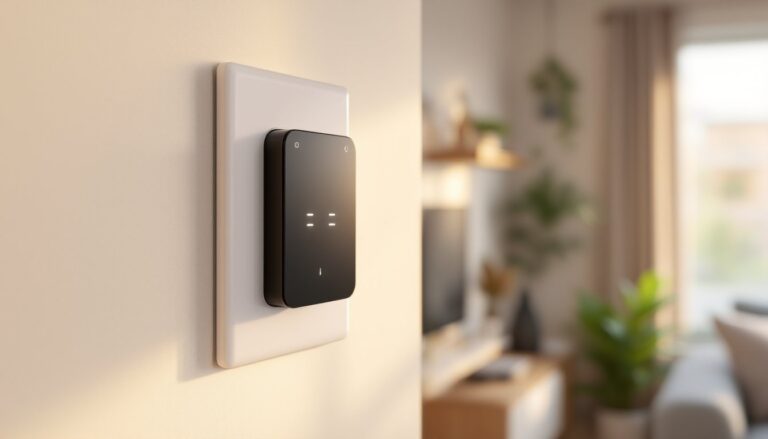
When shopping, look for smart thermostats explicitly labeled as compatible with electric baseboard or line-voltage heating. The thermostat’s wiring terminal block will have relays rated for line voltage switching. If a thermostat says it works with “electric heating,” verify the voltage rating before buying, it’s not always 240V compatible.
A second consideration: baseboard heaters don’t have variable output like a furnace. They’re either on or off, which means your smart thermostat must cycle them to maintain temperature. This approach (called “on-off control” or “bang-bang control”) is less precise than modulating systems, but modern smart thermostats handle it well with tight dead bands, usually ±1°F.
Top Smart Thermostat Models for Baseboard Heating in 2026
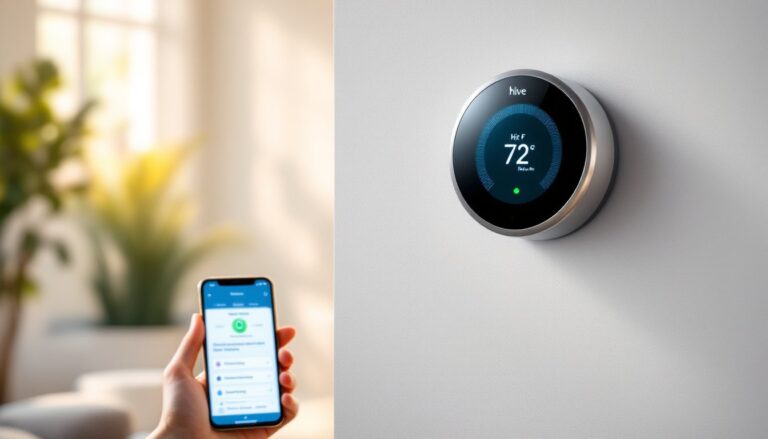
Several models have proven reliable for baseboard systems. The Honeywell Home T9 and Ecobee SmartThermostat both ship with line-voltage compatible versions and include remote sensors to detect occupancy in different rooms. These two excel at schedules and geofencing, features that genuinely save energy when you’re away.
The Ditra Heat Smart is purpose-built for electric radiant floor heating but also handles traditional baseboard with excellent precision. It’s pricier than the Honeywell or Ecobee options but justified if you want granular control.
Budget-conscious DIYers might consider the Emerson Sensi Touch 2, which handles both low and line voltage and costs roughly 30–40% less than premium models. It lacks remote sensors but offers solid scheduling and app control.
Reviews from CNET and Tom’s Guide regularly compare smart thermostat options: their lab tests often highlight compatibility notes and real-world performance with different heating types. Cross-reference any candidate model against your baseboard heater’s voltage and circuit setup before committing.
Installation complexity varies: models with built-in WiFi and no hub are simpler (Honeywell, Ecobee), while others require a separate hub (some Sensi models). Check your router signal strength in the thermostat location: if WiFi is weak, a hub-based system might be more reliable.
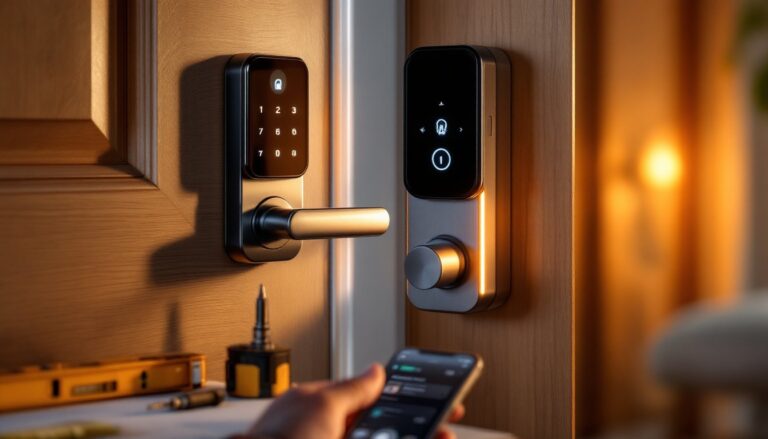
Installation Steps: Connecting Your Smart Thermostat to Baseboard Heat
Before you start, turn off power to the baseboard circuit at the breaker. Test the circuit with a multimeter to confirm it’s dead. This is non-negotiable: baseboard heating circuits carry significant current, and accidental contact is dangerous.
Next, identify your existing thermostat’s wiring. Baseboard thermostats usually have two terminals: one for the “hot” (power in) and one for “load” (wire to the heater). Note which wire is which, you may need to label them with tape before disconnecting. If multiple heaters are on the same circuit, they all connect to one thermostat: if each heater has its own circuit, each needs its own thermostat.
Here are the install steps:
- Turn off power at the breaker and verify with a multimeter.
- Remove the old thermostat by untwisting or unscrewing the terminal connections. Keep a photo or written note of which wire went where.
- Prepare the wall by removing the old trim ring and cleaning the hole. Most smart thermostats come with a new trim ring: install it per the manual.
- Thread the existing wires through the new thermostat’s backing plate and secure the plate to the wall with the provided screws. Use a level, thermostats must be plumb or they can malfunction.
- Connect the wires to the new thermostat’s line-voltage terminals. Double-check the manual: typically, the “hot” wire goes to “Line” and the load wire goes to “Load.” Torque terminal screws snugly (usually 2–3 ft-lbs) to avoid arcing.
- Restore power and verify the new thermostat displays correctly. Wait 30 seconds for it to boot.
- Test the circuit by raising the temperature set point to trigger the heater. You should hear a relay click inside the thermostat and feel the baseboard warm after a few seconds.
- Download the app and create an account, then add the thermostat to your home network per the manufacturer’s setup wizard.
Key safety notes: Wear safety glasses and gloves. If you’re uncomfortable working with line-voltage circuits, hire a licensed electrician, the cost (typically $150–300) is worth your safety. Some municipalities require a permit for thermostat work: check local code.
Maximizing Energy Savings and Comfort With Smart Controls
Once installed, a smart thermostat’s value emerges through scheduling and awareness. Baseboard heaters are efficient at converting electricity to heat, but they waste energy when heating unoccupied spaces or when the temperature is set higher than needed.
Start with a clear schedule: set the thermostat to 65°F during work hours when the home is empty, then 68–70°F in the evening when occupants are home. A 1°F reduction typically saves 1–2% on heating costs: over a season, that compounds. If you have multiple zones (separate baseboard heaters in different rooms), program each to its own schedule, bedrooms can drop to 62°F at night while living areas stay warmer.
Geofencing is powerful: link the thermostat to your smartphone’s location. When everyone leaves, temperature drops automatically: when the first person arrives home, it recovers to your comfort setting. This removes the “I forgot to adjust it before leaving” problem entirely.
Remote sensors (available on Honeywell and Ecobee models) detect which rooms are occupied and adjust heating priority. If you spend most time in the living room, the thermostat can favor that zone’s comfort, saving energy in unused bedrooms.
Monitor your thermostat’s energy reports weekly. Most smart models provide usage graphs in the app. If consumption spikes unexpectedly, investigate: is a window open, is the thermostat calling heat more often, or has an external temperature change altered your schedule’s effectiveness? Digital Trends publishes annual smart home energy guides that benchmark expected usage across climate zones: compare your reports against their benchmarks to gauge whether your setup is performing as intended.
One caveat: smart thermostats can’t overcome poor insulation or air leaks. If your baseboard heats constantly and still can’t reach set point, the issue is building envelope, not controls. Prioritize caulking, weatherstripping, and insulation before expecting dramatic savings from scheduling alone.
Common Installation Mistakes and Troubleshooting Tips
Mistake: Installing a low-voltage thermostat on a line-voltage circuit. This is the most frequent error. A 24V thermostat’s relay will fail or not switch when connected to 120V or 240V. Always verify the thermostat’s line-voltage rating before purchase.
Mistake: Wiring the heater directly to the thermostat without a relay. Some older setups do this, but modern smart thermostats have built-in relays. Never bypass them or connect line voltage directly to the thermostat’s logic board, it will fry instantly.
Mistake: Forgetting to turn off power before disconnecting wires. Even a brief contact while power is live can cause a shock or arc. Use a multimeter, not assumptions. If the breaker label is unclear, kill power to the whole house until you’re certain.
Troubleshooting: Thermostat doesn’t turn on the heater.
- Verify power reaches the thermostat (check the display). If blank, the breaker is off or wires aren’t connected.
- Confirm the temperature set point is above the current room temperature. If set point is 65°F and room is 68°F, the heater won’t call.
- Check the app or settings for any “delay” or “lockout” features that might prevent cycling. Some thermostats disable heat for a short time after shutdown to avoid short-cycling.
- Use a multimeter on the thermostat’s load terminals. With the set point raised above room temperature, you should read voltage across those terminals. If voltage is present but the heater doesn’t warm, the heater itself may be faulty.
Troubleshooting: Thermostat loses WiFi connection.
- Ensure the thermostat is within 30 feet of your router and no metal cabinets or appliances are blocking the signal. Move the router closer if possible.
- Restart the thermostat by turning power off at the breaker for 30 seconds, then back on.
- Log out of the app, close it completely, then log back in. This often clears stale connection states.
- If using a hub-based system, restart the hub the same way (power cycle for 30 seconds).
Troubleshooting: Heating cycles too frequently (short-cycling).
- This often means the set point and dead band are too narrow. A 2°F dead band (heater on at 67°F, off at 69°F) can cause continuous switching. Widen the dead band to 3–4°F in the thermostat’s settings.
- Check that the thermostat isn’t in a drafty location or direct sunlight, which throws off temperature readings. Relocate if needed.
- If you have multiple heaters on separate circuits, each thermostat may be cycling independently, creating the illusion of short-cycling. This is normal but wastes energy. Consider upgrading to a multi-zone smart system or coordinating set points across thermostats manually.
Conclusion
A smart thermostat transforms electric baseboard heating from a set-and-forget nuisance into an accountable system. The key is choosing a model rated for line-voltage operation, installing it correctly with power off, and then leveraging scheduling and geofencing to reduce unnecessary heating. Most homeowners see 10–15% energy savings in the first winter, with payback in 2–3 years. Take time with the install, respect the voltage you’re working with, and don’t hesitate to call a licensed electrician if wiring makes you uncomfortable. The comfort and savings are worth the effort.